Ingredients
4 medium to large ripe pears, peeled and sliced (4 5 cups or 500 625g)
3 medium to large apples, peeled and sliced (4 5 cups or 500 625g)
1/2 cup packed light or dark brown sugar (100g)
1/4 cup all-purpose flour (31g)
1 teaspoon pure vanilla extract
1 teaspoon ground cinnamon
1/2 teaspoon ground nutmeg
1/4 teaspoon salt
3/4 cup all-purpose flour (94g)
3/4 cup packed light or dark brown sugar (150g)
1 teaspoon ground cinnamon
1/2 cup unsalted butter, cold and cubed (113g)
1 cup old-fashioned whole rolled oats (85g)
1 cup chopped pecans (125g)
Instructions
1-Preparing Your Workspace and Oven: First, preheat your oven to 350°F (175°C). This temperature is perfect for allowing the fruit to become tender while giving the topping enough time to turn golden brown and crispy without burning. While the oven is heating, prepare your baking dish by greasing it lightly with butter or cooking spray. I typically use an 8×11 inch baking dish, but a 9×13 inch would work well too if you prefer a slightly thinner crisp.
2-Preparing the Fruit Filling: Wash, peel, core, and slice your apples and pears into uniform pieces about 1/4-inch thick is ideal. Uniform sizing ensures even cooking, so you won’t have some pieces mushy while others are still crunchy. There’s nothing worse than biting into a dessert with uneven textures!
2-Preparing the Fruit Filling: In a large mixing bowl, combine the diced apples and pears. Sprinkle them with the cinnamon, nutmeg, and salt, then toss gently to coat. Add the brown sugar and flour, continuing to toss until everything is evenly distributed. Finally, stir in the vanilla extract, which will enhance the natural flavors of the fruit.
2-Preparing the Fruit Filling: Here’s a little tip I learned from my grandmother: taste a small piece of the fruit mixture at this point. If you like things sweeter, you can add a bit more sugar. If you prefer more spice, feel free to increase the cinnamon. This is your chance to customize before baking!
3-Creating the Perfect Crumbly Topping: In a separate bowl, combine the all-purpose flour, brown sugar, and cinnamon for the topping. Mix these dry ingredients together before adding the cold, cubed butter. Using your fingertips or a pastry cutter, work the butter into the mixture until it resembles coarse crumbs with some pea-sized pieces of butter still visible. These larger butter pieces will melt and create pockets of extra crispiness in the topping.
3-Creating the Perfect Crumbly Topping: Next, add the old-fashioned rolled oats and optional chopped pecans, mixing gently to incorporate. The oats will give us that classic crisp texture, while the pecans add an extra layer of flavor and crunch. If you choose to include pecans, I promise they take this apple pear crisp to a whole new level of deliciousness!
4-Assembling and Baking Your Crisp: Spread the fruit mixture evenly in your prepared baking dish. Then, sprinkle the oat topping evenly over the fruit, making sure to cover all the fruit to the edges. This helps prevent the fruit from drying out during baking.
4-Assembling and Baking Your Crisp: Bake uncovered for 40-45 minutes, until the topping is golden brown and the fruit is bubbling. You’ll know it’s ready when you see those gorgeous fruit juices bubbling up around the edges of the dish and the topping has reached that perfect golden color that makes your mouth water.
4-Assembling and Baking Your Crisp: Remove the crisp from the oven and allow it to cool slightly before serving. I know it’s tempting to dive right in, but letting it rest for about 15 minutes allows the fruit to set and the flavors to meld together beautifully. This resting time also makes serving much easier, as the fruit will hold its shape better when spooned out.
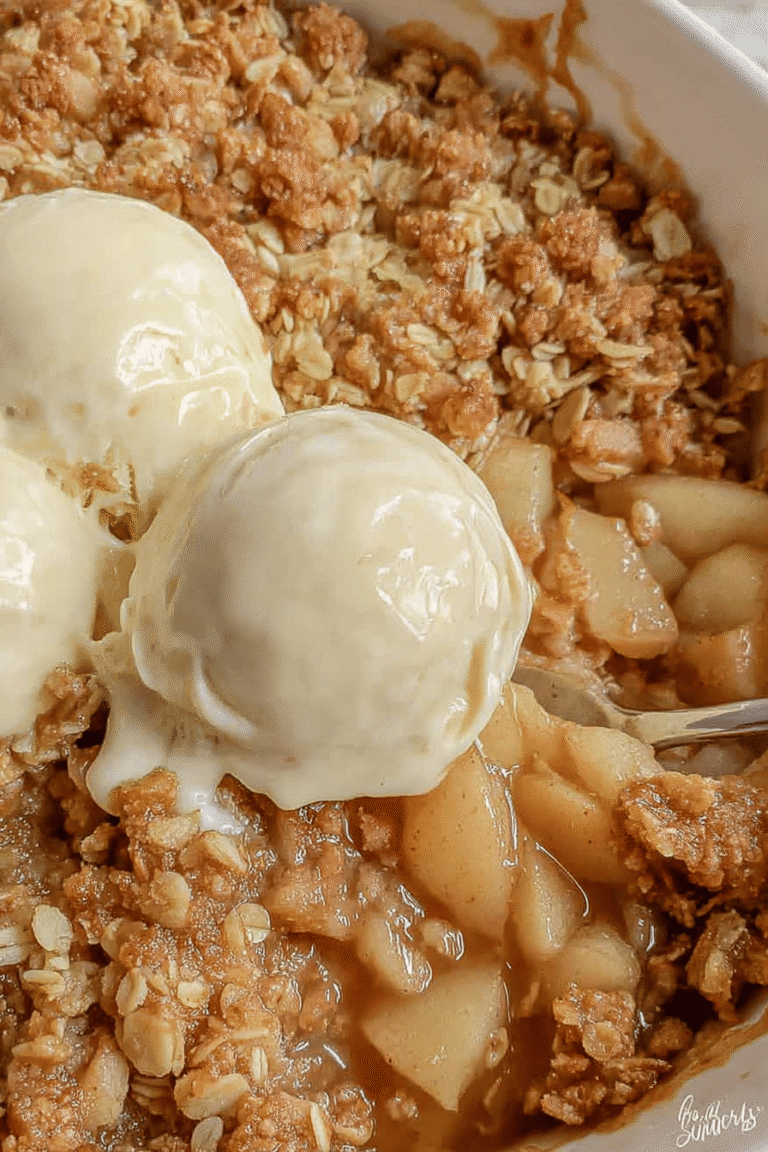
4-Assembling and Baking Your Crisp: Serve warm, optionally with a scoop of vanilla ice cream or a dollop of whipped cream. The contrast between the warm, spicy fruit and the cool, creamy topping is absolutely heavenly. I also love to enjoy this apple pear crisp for breakfast the next day because dessert for breakfast is one of life’s simple pleasures, right?
Last Step:
Please leave a rating and comment letting us know how you liked this recipe! This helps our business to thrive and continue providing free, high-quality recipes for you.Notes
🍎 For best flavor, use ripe but firm pears and apples to maintain texture.
🥧 To make topping extra crunchy, chill the butter before mixing.
🌰 Pecans are optional but add a nice crunch and nutty flavor to the topping.
- Prep Time: 15 minutes
- Bake time: 40 to 45 minutes
- Category: Dessert
- Method: Baking
- Cuisine: American
- Diet: Vegetarian
Nutrition
- Serving Size: 1 serving