Ingredients
– 2 large chicken breasts, cut into 8 to 10 strips for protein foundation
– 1/4 cup milk to help egg wash adhere
– 1 beaten egg for binding layer
– 2/3 cup grated Parmesan cheese for cheesy flavor and crispy texture
– 2/3 cup plain breadcrumbs for crispy outer coating
– 1/4 teaspoon onion powder for depth and savory notes
– 1/4 teaspoon garlic powder for aromatic flavor
– 3/4 teaspoon thyme for earthy herbal note
– 1 1/2 teaspoons basil for fresh sweet flavor
– 1/4 teaspoon black pepper for subtle heat and balancing flavors
– 1 teaspoon paprika for color and mild flavor
Instructions
1-First Step: Preparation and Mise en Place Start by preheating your oven to 400 degrees Fahrenheit. While the oven heats, prepare your baking sheet by spraying it generously with non-stick cooking spray. For easy cleanup, consider lining the baking sheet with foil before spraying, as this will save you from scrubbing later. Cut your chicken breasts into uniform strips, about 8-10 strips per breast depending on size. Consistent sizing ensures even cooking, so try to make them similar in thickness. Pat the chicken strips dry with paper towels to help the coating adhere better.
2-Second Step: Creating the Coating Station Set up a simple coating station with three components. First, in a shallow dish, combine the 1/4 cup of milk and the beaten egg. Whisk them together until well combined. This mixture will act as the glue that holds your crispy coating in place. Next, grab a plastic zipper bag (a gallon-size works well). In this bag, combine the 2/3 cup grated Parmesan cheese, 2/3 cup plain breadcrumbs, onion powder, garlic powder, thyme, basil, black pepper, and paprika. Seal the bag and shake well to mix all ingredients thoroughly. This method not only combines the ingredients but also makes the coating process incredibly easy and mess-free.
3-Third Step: Coating the Chicken Now comes the fun part! Dip each chicken strip first into the milk and egg mixture, ensuring it’s completely coated. Allow any excess liquid to drip off briefly. Place the coated strip into your bag of breadcrumb and cheese mixture. Seal the bag and gently shake to coat the chicken evenly. The zipper bag method creates a perfectly even coating with minimal mess and effort. For best results, work with a few pieces at a time rather than overcrowding the bag. Once coated, place each chicken strip on your prepared baking sheet in a single layer, leaving a small space between pieces to allow for even air circulation and crisping.
4-Fourth Step: Baking to Perfection Place the baking sheet in your preheated 400-degree Fahrenheit oven. Bake for 20 minutes or until the chicken is golden brown and crispy. For extra crispiness, consider spraying the tops of the strips with cooking spray before placing them in the oven. About halfway through the cooking time (around the 10-minute mark), carefully flip each strip to ensure even browning on both sides. This step also helps prevent sticking to the baking sheet and guarantees that beautiful golden color all around.
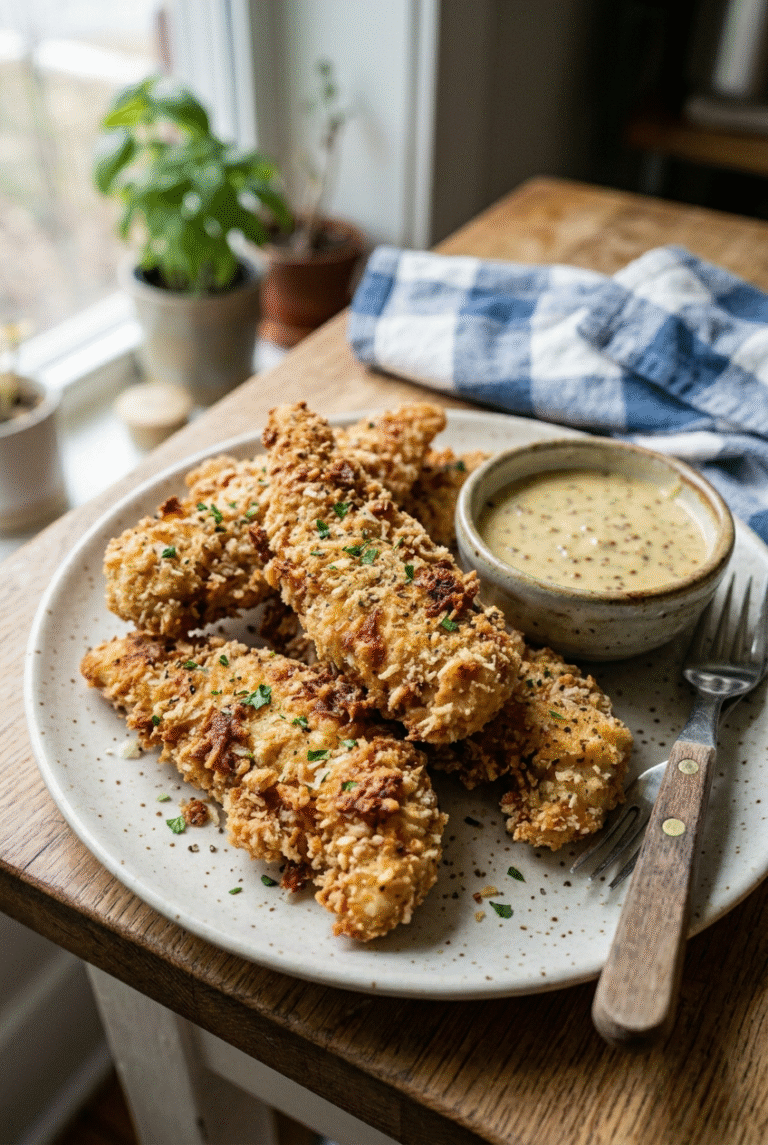
5-Final Step: Serving Suggestions Once golden and crispy, remove the chicken tenders from the oven and let them rest for 2-3 minutes before serving. This brief resting period allows the coating to set and prevents the juices from running out immediately when cut. Serve your Crispy Parmesan Chicken Tenders with your favorite dipping sauces. Classic options include marinara sauce (which complements the Italian-inspired seasoning blend), honey mustard, or a light garlic aioli. These tenders pair beautifully with a fresh green salad, roasted vegetables, or even as a protein addition to pasta dishes. Some home cooks enjoy them with a side of strawberry shortcake for a sweet and savory meal combination. The whole process takes approximately 35 minutes from start to finish, making this an ideal option for busy weeknight dinners when you want something delicious but don’t have hours to spend in the kitchen.
Last Step:
Please leave a rating and comment letting us know how you liked this recipe! This helps our business to thrive and continue providing free, high-quality recipes for you.Notes
📄 Line baking sheet with foil sprayed with non-stick for super easy cleanup.
🔄 Flip strips halfway through baking to prevent sticking and ensure even crispiness.
💨 Spray tops lightly with cooking spray before baking for maximum golden crunch.
- Prep Time: 15 minutes
- Cook Time: 20 minutes
- Category: Main Dish
- Method: Baked
- Cuisine: American
- Diet: Kid-Friendly
Nutrition
- Serving Size: 2-3 strips
- Calories: 250 kcal
- Sugar: 1g
- Sodium: 450mg
- Fat: 12g
- Saturated Fat: 4g
- Unsaturated Fat: 7g
- Trans Fat: 0g
- Carbohydrates: 12g
- Fiber: 1g
- Protein: 25g
- Cholesterol: 80mg