Ingredients
– 1 cup (227 g) unsalted butter, room temperature
– ½ cup (100 g) granulated sugar
– ¼ teaspoon salt
– 1 ½ teaspoons vanilla extract
– 1 egg
– 2 cups (284 g) all-purpose flour
– Additional granulated sugar for sprinkling
Instructions
1-First Step: Preparation and Mise en Place Before you begin, it is crucial to prepare your workspace. Start by preheating your oven to 350 degrees Fahrenheit. This ensures the oven is at the correct temperature the moment your cookies are ready to bake. Next, line two baking sheets with parchment paper or silicone baking mats. This prevents sticking and makes cleanup incredibly easy. Gather all your ingredients to ensure everything is measured and within reach. This is especially important for the butter, which must be at room temperature to cream properly with the sugar.
2-Second Step: Creaming the Butter and Sugar In a large mixing bowl, combine the 1 cup of unsalted butter and ½ cup of granulated sugar. Using an electric mixer on medium speed, beat these ingredients together until they are well combined and fluffy. This process usually takes about 1 to 2 minutes. You want the mixture to look pale and slightly aerated. This step is vital because it incorporates air into the dough, which helps the cookies maintain a lovely texture. Be careful not to overbeat, as this can introduce too much air and cause the cookies to spread too much in the oven.
3-Third Step: Adding Flavor and Binders Once your butter and sugar mixture is ready, it is time to add the wet ingredients. Add the ¼ teaspoon of salt, 1 ½ teaspoons of vanilla extract, and the 1 egg to the bowl. Beat the mixture on medium speed until everything is thoroughly combined, which should take about 1 minute. The vanilla extract is particularly important here, as it provides that classic cookie aroma. If you want to get fancy, you can use vanilla bean paste instead to see those beautiful little black flecks in the final product. Scrape down the sides of the bowl to ensure no ingredient is left behind.
4-Fourth Step: Incorporating the Flour Now, reduce the mixer speed to low. Gradually add the 2 cups of all-purpose flour to the wet mixture. It is best to add the flour in small batches to prevent a cloud of dust from forming in your kitchen. Mix until the flour is mostly combined. You will notice the dough becoming quite thick. At this point, stop the mixer and finish mixing with a spatula. This prevents overworking the gluten in the flour, which can make the cookies tough. The dough should be thick and pliable, perfect for piping.
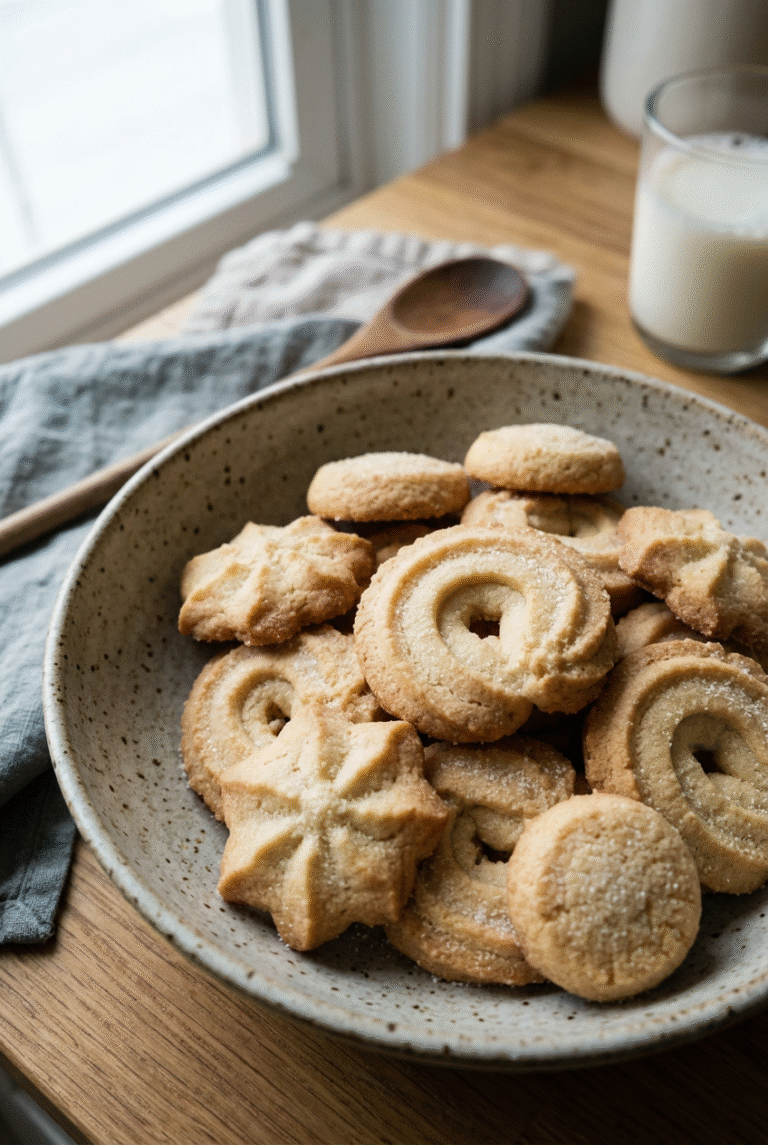
5-Fifth Step: Piping the Cookies Transfer the thick dough into a piping bag fitted with a large open star tip. This specific tip is what creates the iconic ridged swirl shape of Danish butter cookies. If you do not have a piping bag, you can use a sturdy plastic zip-top bag and snip off the corner, though the shape will be different. Pipe the dough onto your prepared baking sheets into 2-inch circles. You do not need to leave too much space between them because these cookies do not spread a lot while baking. Once piped, lightly sprinkle the tops with additional granulated sugar. This adds a nice sparkle and a satisfying crunch to the finished cookie.
6-Final Step: Baking and Cooling Place one baking sheet in the oven at a time. Bake the cookies until they are light golden brown, which typically takes about 15 to 17 minutes. Keep a close eye on them during the last few minutes to ensure they do not over-brown. You want them to stay tender. Once they are done, remove them from the oven and let them sit on the baking sheet for a few minutes to firm up slightly. Then, transfer them to a wire rack to cool completely. Allowing them to cool completely is essential because it lets the cookies set properly, ensuring they have the right texture when you bite into them.
Last Step:
Please leave a rating and comment letting us know how you liked this recipe! This helps our business to thrive and continue providing free, high-quality recipes for you.Notes
🌿 Swap vanilla extract with vanilla bean paste for beautiful flecks and intensified flavor.
🎨 Use a large open star piping tip for the signature swirled shape that makes them irresistible.
💎 Bake just to light golden for the perfect tender texture, and cool fully before enjoying.
- Prep Time: 30 minutes
- Cook Time: 15-17 minutes
- Category: Dessert
- Method: Baking
- Cuisine: Danish
- Diet: Vegetarian
Nutrition
- Serving Size: 1 cookie
- Calories: 83
- Sugar: 2g
- Sodium: 18mg
- Fat: 5g
- Saturated Fat: 3g
- Carbohydrates: 8g
- Cholesterol: 18mg