Ingredients
– 200 grams flour for structure
– 100 grams sugar for sweetening
– 2 cups milk for moisture
– 50 grams cocoa powder for chocolatey depth
– 1 teaspoon baking powder for rising
– 100 grams butter for buttery richness
Instructions
1-First Step: Prepare Your Ingredients Begin by measuring out everything precisely to avoid any mix-ups. In one bowl, combine the dry ingredients like the flour, sugar, cocoa powder, and baking powder. This ensures they blend evenly before adding the wet parts. Once mixed, melt the butter in a small pan over low heat, which should take about 2 minutes. Meanwhile, measure the milk and set it aside. This simple setup makes the rest of the process a breeze.
2-Second Step: Mix the Dry and Wet Ingredients Now, pour the melted butter and milk into the bowl with the dry mix. Stir everything together gently with a spoon until it forms a smooth batter, about 5 minutes of mixing. Be careful not to overdo it, as that can make the cake tough. If you notice any lumps, give it a few more stirs, but aim for a creamy consistency. This step is where the magic happens, blending flavors for that signature gooey texture. For a fun twist, you might want to check out our easy muffin recipes for more baking ideas.
3-Third Step: Preheat and Bake the Cake Preheat your oven to 180 degrees Celsius while you prepare the batter. Grease a baking pan with a bit of butter or oil to prevent sticking, then pour in the batter evenly. This ensures the cake bakes uniformly and comes out perfectly. Pop it into the oven and bake for 30 minutes, or until the top is golden and a toothpick inserted in the center comes out mostly clean. Keep an eye on it after 25 minutes to avoid overbaking, as the gooey center is what makes this cake special.
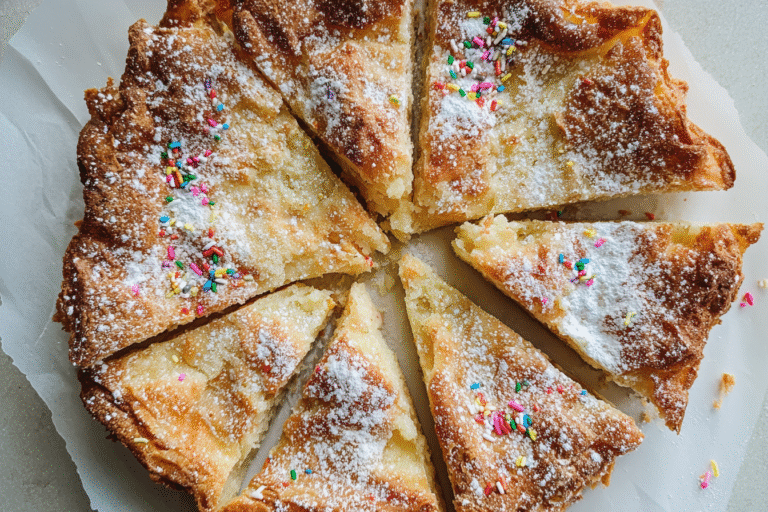
4-Fourth Step: Cool and Serve Once baked, let the cake cool in the pan for about 10 minutes before transferring it to a wire rack. This helps it set without falling apart. For the final touch, dust it with powdered sugar for a simple yet elegant finish. Serve it warm with a side of fresh fruit or ice cream to enhance the flavors. This step yields around 8 servings, making it great for sharing with family or friends. Speaking from experience, it’s even better the next day if you have leftovers.
5-Fifth Step: Enjoy and Store Slice and enjoy your gooey butter cake right away for the best taste. If you’re planning ahead, think about how storage fits into your routine. For more tips on keeping baked goods fresh, consider our scone recipes that include handy storage advice. Remember, the key is in the timing and temperature, so use an oven thermometer if you have one. This recipe not only satisfies your sweet tooth but also brings a bit of nostalgia to your table.
Last Step:
Please leave a rating and comment letting us know how you liked this recipe! This helps our business to thrive and continue providing free, high-quality recipes for you.Notes
🧈 Watch butter carefully as it browns – it should be golden brown but not burnt for perfect flavor
🎂 Make sure cake layers are completely cool before adding the butter filling to prevent melting
⏰ This cake tastes even better the next day as the butter filling sets and flavors meld together
- Prep Time: 25 minutes
- Cooling: 1 hour
- Cook Time: 30 minutes
- Category: Dessert
- Method: Baking
- Cuisine: American
Nutrition
- Serving Size: 1 slice
- Calories: 380
- Sugar: 28g
- Sodium: 220mg
- Fat: 22g
- Saturated Fat: 12g
- Unsaturated Fat: 8g
- Trans Fat: 0g
- Carbohydrates: 45g
- Fiber: 1g
- Protein: 4g
- Cholesterol: 65mg