Ingredients
– 1 cup unsalted butter, melted
– 1 cup granulated sugar
– 3 tablespoons light brown sugar
– 2 large eggs
– 1 tablespoon vanilla extract
– 1 ¼ teaspoons red gel food coloring
– 2 ¾ cups all-purpose flour, fluffed, spooned and leveled
– 6 tablespoons unsweetened Dutch processed cocoa powder
– 1 tablespoon corn starch
– 1 teaspoon baking powder
– ½ teaspoon cream of tartar
– ½ teaspoon coarse Kosher salt (use half if using table salt)
– 4 ounces cold cream cheese
– ½ cup unsalted butter, softened to room temperature
– 2 ½ cups powdered sugar
– 1 tablespoon corn starch
– ⅛ teaspoon coarse Kosher salt
– 1 teaspoon vanilla extract
Instructions
1-Preparing the Red Velvet Bars: Position a rack in the center of your oven and preheat to 350°F. This temperature is ideal for high altitude environments as it helps the bars set properly without over-browning the edges before the center is cooked. Line a 9-inch baking pan with parchment paper, ensuring it extends slightly up the sides to create handles for easy removal later.
2-Preparing the Red Velvet Bars: In a large bowl, whisk together the melted butter, granulated sugar, brown sugar, eggs, vanilla, and red gel food coloring. Continue whisking until the mixture is well combined and smooth. The red gel food coloring provides a more vibrant hue than liquid food coloring and won’t add excess liquid to your batter, which is particularly important in high-altitude baking where moisture balance is crucial.
3-Preparing the Red Velvet Bars: In a separate bowl, sift together the all-purpose flour, Dutch processed cocoa powder, corn starch, baking powder, cream of tartar, and salt. Sifting may seem like an extra step, but it’s essential for distributing the leavening agents evenly and preventing lumps of cocoa powder, ensuring a uniform texture throughout your bars.
4-Preparing the Red Velvet Bars: Add the dry ingredients to the wet mixture, stirring just until incorporated to form a soft dough. Be careful not to overmix, as this can overdevelop the gluten and result in tough bars. The dough should be thick but spreadable.
5-Preparing the Red Velvet Bars: Spread the dough evenly into your prepared pan using an offset spatula. This tool helps create a smooth, uniform layer that will bake evenly. Bake for exactly 25 minutes, keeping a close eye as baking times can vary slightly depending on your specific altitude. The bars are done when they have risen slightly and the center is set when gently touched.
6-Preparing the Red Velvet Bars: Cool the pan completely on a wire rack for at least 4-6 hours or, ideally, overnight before cutting. This patience is rewarded with clean edges and perfectly set bars that hold their shape when sliced.
7-Preparing the Buttercream Frosting: In the bowl of a stand mixer fitted with the paddle attachment, beat the cold cream cheese for about one minute until completely smooth and free of lumps. Cold cream cheese gives structure to the frosting and prevents it from becoming too soft.
8-Preparing the Buttercream Frosting: Add the softened butter to the cream cheese and beat until the mixture is well combined and creamy. The combination of butter and cream cheese creates the classic tangy-sweet flavor that complements the chocolate notes in the bars.
9-Preparing the Buttercream Frosting: With the mixer on low speed, gradually add the powdered sugar along with the corn starch, salt, and vanilla extract. Adding the sugar slowly prevents a cloud of powdered sugar from escaping the bowl and ensures even mixing. The corn starch in the frosting helps stabilize it, making it less likely to become runny at room temperature.
10-Preparing the Buttercream Frosting: Once all ingredients are incorporated, increase the speed to medium and beat for about 3 minutes until the frosting is light and fluffy. This extra whipping time incorporates air into the frosting, giving it a smooth, spreadable consistency.
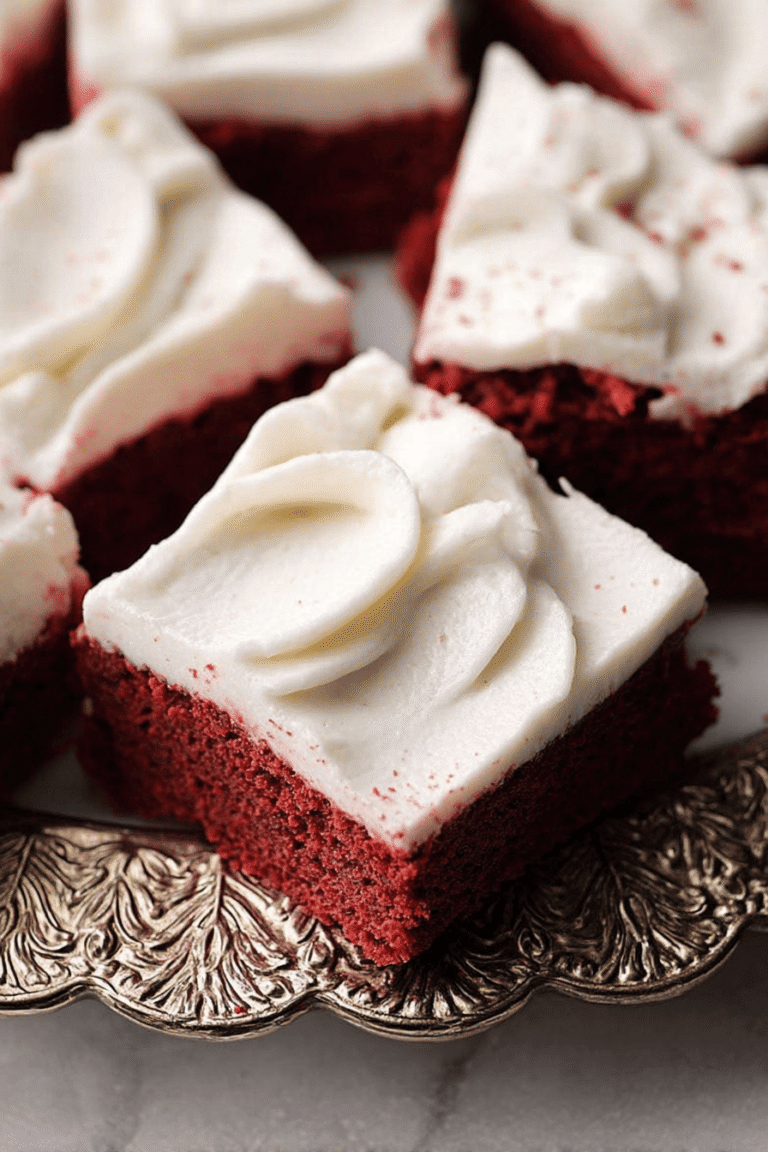
11-Preparing the Buttercream Frosting: Spread or pipe the frosting over the completely cooled bars. For a professional look, use an offset spatula to create smooth swirls or a piping bag fitted with a decorative tip to create elegant designs. Cut into 16 squares using a sharp knife, wiping the blade clean between cuts for pristine edges.
Last Step:
Please leave a rating and comment letting us know how you liked this recipe! This helps our business to thrive and continue providing free, high-quality recipes for you.Notes
❄️ Store unfrosted bars at room temperature; keep frosted bars refrigerated in an airtight container for up to 3 days or freeze for 3-6 months.
🍫 Increase cocoa powder by 2 tablespoons and decrease flour by 2 tablespoons for a deeper chocolate flavor and darker color.
⚗️ Cream of tartar acts as a chemical leavener and adds a subtle tang similar to buttermilk, enhancing the traditional red velvet taste.
- Prep Time: 25 minutes
- Cooling time: 4-6 hours
- Cook Time: 25 minutes
- Category: Dessert
- Method: Baking
- Cuisine: American
- Diet: Vegetarian
Nutrition
- Serving Size: 1 bar