Ingredients
Jar with lid for keeping the starter safe and allows for proper fermentation
Bread flour or all-purpose flour for feeding the yeast and bacteria for healthy growth
Filtered water for hydrating the mixture and supports microbial activity
Instructions
1-Getting your sourdough starter maintenance right: First, measure and mix 100g whole wheat flour and 100g all-purpose flour in a clean bowl to build a strong base. This mix provides the nutrients needed for the starter to flourish.
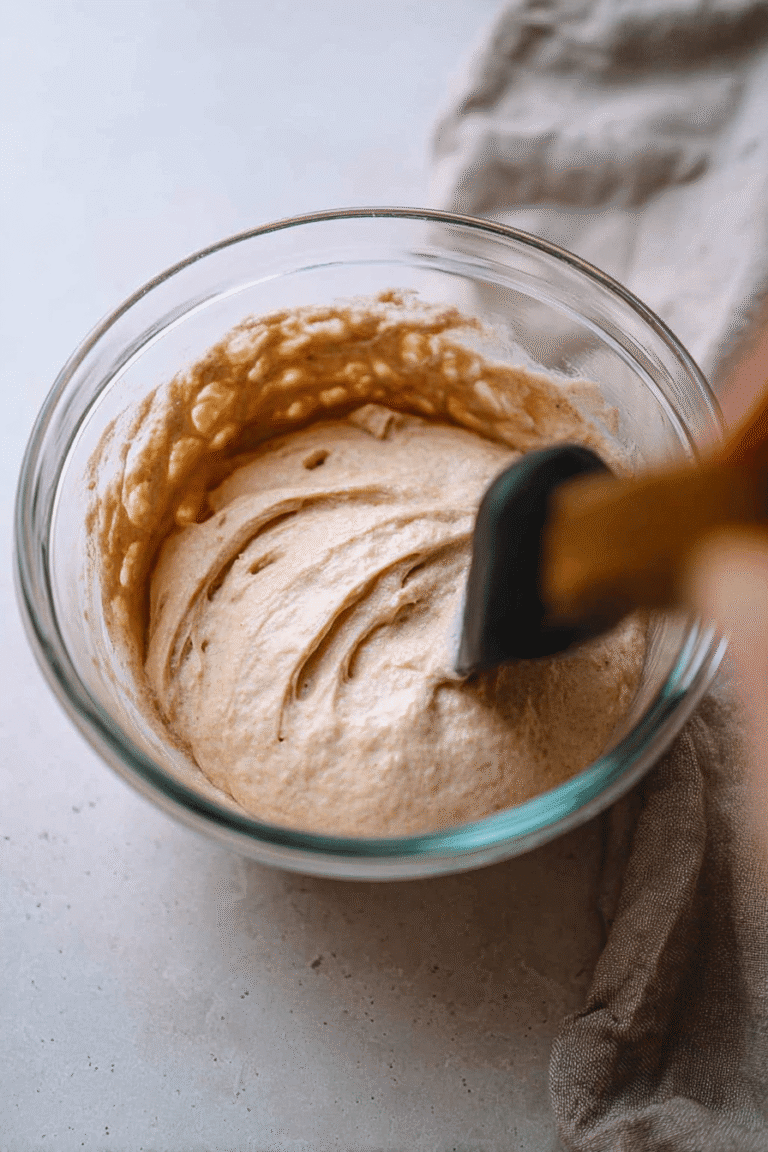
2-Next, add 150ml of room temperature filtered water gradually, stirring until you get a smooth, thick batter. Cover the bowl loosely with a breathable cloth to let air flow in while keeping out any dust. Leave it at room temperature, around 21-25°C, for 12-24 hours to kick off the fermentation.
3-Key Feeding Steps: 1. After the initial wait, discard half of the starter to refresh acidity and control growth, just like in the directions provided.
2. Feed the remaining starter with equal parts flour and water by weight, keeping that 1:1:1 ratio for the best results.
3. Mix thoroughly until it’s a thick, lump-free texture, similar to thick pancake batter, and cover the jar loosely.
4. Let it rise at room temperature, ideally 75 to 80 degrees Fahrenheit, until it doubles in size and becomes bubbly this could take 2 to 12 hours.
5. Maintain a consistent schedule by feeding at the same time each day, and store it based on how often you bake.
4-Once your starter is active and bubbly, usually after 5-7 days, it’s ready for baking or ongoing care. Hands-on time for feeding is about 5 minutes, with total time varying from 2 to 12 hours depending on conditions. This step-by-step approach makes how to maintain sourdough starter simple and effective for everyday use.
Last Step:
Please leave a rating and comment letting us know how you liked this recipe! This helps our business to thrive and continue providing free, high-quality recipes for you.Notes
⚖️ Use a kitchen scale for precise ingredient measurement.
💧 Adjust consistency by adding more water if too thick, or more flour if too thin.
♻️ Discard half the starter regularly to prevent overgrowth; use discard in recipes like pancakes or muffins.
- Prep Time: 5 minutes
- Activation Time: 2 to 12 hours
- Category: Baking, Starter Maintenance
- Method: Feeding, Mixing