Ingredients
– 5 to 6 tablespoons Thai red curry paste
– 2 large garlic cloves (minced) for jar curry paste only
– 2 teaspoons fresh ginger (finely grated) for jar curry paste only
– 1 tablespoon lemongrass paste or finely chopped fresh lemongrass for jar curry paste only
– 3 tablespoons vegetable oil
– 1 cup (250 ml) low sodium chicken broth or stock
– 400 ml (14 oz) full-fat coconut milk
– 6 kaffir lime leaves
– 1 tablespoon sugar
– 2 teaspoons fish sauce plus more to taste
– 350 grams (12 oz) boneless, skinless chicken thighs
– 150 grams (5 oz) pumpkin or butternut squash
– 120 grams (4 oz) green beans
– 12 Thai basil leaves
– fresh red chili slices
– fresh coriander/cilantro leaves
Instructions
1-First Step: Bloom the Aromatics Start by heating 3 tablespoons of vegetable oil in a large heavy-based skillet over medium-high heat. Once the oil is shimmering, add 5 to 6 tablespoons of Thai red curry paste. If you are using a jarred paste, this is the perfect time to add your extras: 2 large minced garlic cloves, 2 teaspoons of finely grated fresh ginger, and 1 tablespoon of lemongrass paste. Sauté this mixture for about 2 minutes. You want to cook the paste until it looks slightly dry and oil begins to separate around the edges. This process, known as “blooming,” is crucial because it releases the essential oils in the spices and herbs, maximizing the flavor potential of your curry. Your kitchen will start to smell amazing at this stage!
2-Second Step: Deglaze and Reduce Pour in 1 cup of low sodium chicken broth or stock. Use your spoon or spatula to scrape up any browned bits stuck to the bottom of the pan. Stir vigorously to dissolve the paste into the liquid. Let this mixture simmer rapidly for about 3 minutes. You want the liquid to reduce by roughly half. Concentrating the broth at this stage ensures that the base of your curry is flavorful and not watered down once you add the coconut milk later.
3-Third Step: Build the Sauce Base Lower the heat slightly and add the 400 ml of full-fat coconut milk, 6 kaffir lime leaves, 1 tablespoon of sugar, and 2 teaspoons of fish sauce. Stir everything together to combine. Now, gently add the sliced chicken thighs, spreading them out so they are mostly submerged in a single layer. Simmer this over medium heat for 8 to 10 minutes. During this time, the sauce will reduce further, thickening up nicely, and the chicken will cook through. Using chicken thighs is recommended here because they remain juicy and tender even after simmering, unlike chicken breasts which can dry out.
4-Fourth Step: Add Vegetables Once the chicken is cooked and the sauce has started to thicken, it is time to add the vegetables. Add the 150 grams of pumpkin or butternut squash cubes and the 120 grams of trimmed green beans. Stir gently to coat them in the sauce. Cook for another 3 minutes. You want the pumpkin to be tender but not mushy, and the green beans to be bright green and slightly crunchy. The starch from the pumpkin will also help thicken the sauce slightly, giving it that desirable, gravy-like consistency that is perfect for pouring over rice.
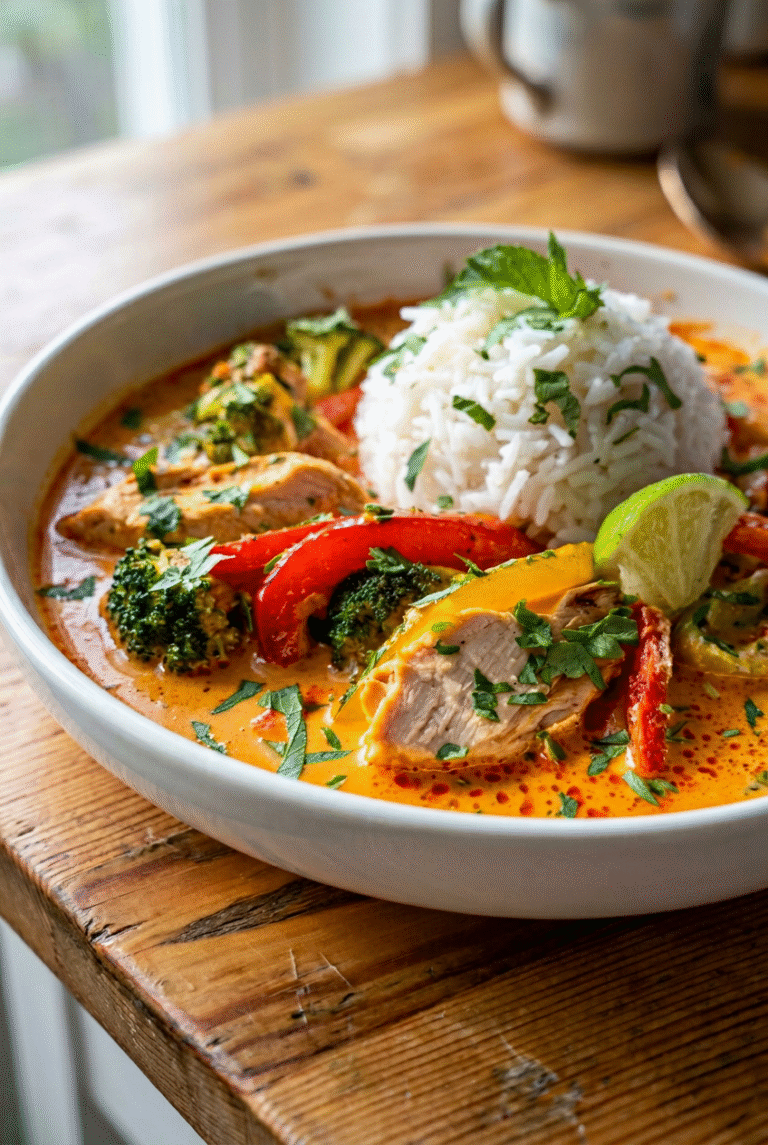
5-Fifth Step: Finishing Touches Taste your curry! This is the most important step. If it needs more salt, add a splash more fish sauce. If it is too salty, a squeeze of lime juice (if you have it) or a bit more sugar can balance it out. If you like it sweeter, add more sugar. Once you are happy with the balance, remove the skillet from the heat. Stir in the 12 Thai basil leaves. The residual heat from the curry will wilt the basil perfectly, releasing its distinct aniseed aroma. Serve immediately, garnished with fresh red chili slices and coriander leaves if desired.
Last Step:
Please leave a rating and comment letting us know how you liked this recipe! This helps our business to thrive and continue providing free, high-quality recipes for you.Notes
🧄 Sauté store-bought curry paste with garlic, ginger, and lemongrass to freshen and enhance its flavor.
🥥 The sauce may separate slightly due to natural oil content; this is normal and adds richness.
🔥 Adjust spiciness by using less curry paste or choosing a milder brand to suit your taste.
- Prep Time: 5 minutes
- Cook Time: 20 minutes
- Category: Main Dish
- Method: Simmering
- Cuisine: Thai
- Diet: Gluten-Free, Dairy-Free
Nutrition
- Serving Size: 1 cup
- Calories: 530 kcal
- Sugar: 12g
- Sodium: 1200mg
- Fat: 42g
- Saturated Fat: 28g
- Unsaturated Fat: 12g
- Trans Fat: 0g
- Carbohydrates: 22g
- Fiber: 3g
- Protein: 25g
- Cholesterol: 80mg